How to add a Custom Character in BB+
Intro
150% zoom recommended for reading images!
You know. Seeing a lot of people struggling with trying to figure out how to create something basic in an expertise I don't usually work on made me pretty sad :(. So I went out of my way to learn how to mod BB+ to give you this tutorial on adding in a Custom Character to BB+
The NPC we will be making today is very simple. All it does is wander around the map whilst playing a song on loop. We will also be giving it a poster in the Principals Office as well!
- PS: This tutorial assumes that you have a basic grasp of C# and that you know how to set up your mod. If you don't, go to this tutorial and complete it from the end. So that we are kept on track, this is what my code looks like right now
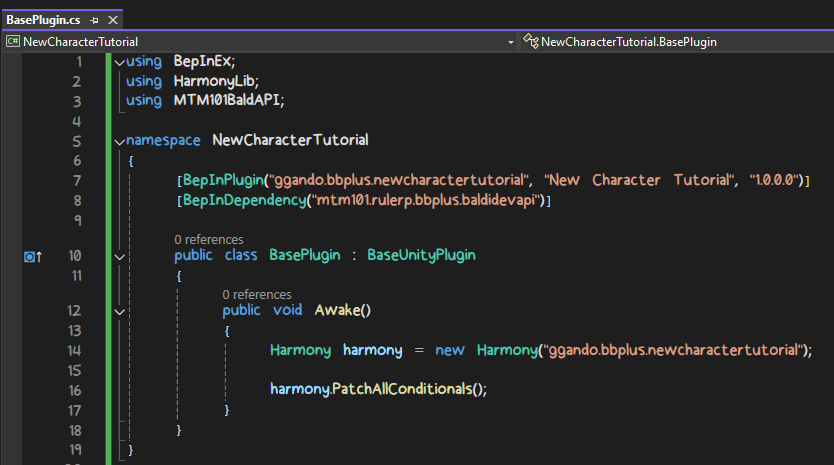
- PPS: The photos shown here may have differences than what you are supposed to do. So this tutorial also assumes that you know how to deviate from this. Whenever "Character" is mentioned, make sure it's replaced with your characters name
- PPPS: I do not know the absolute best practices to creating a custom character. This is just the process that I used which worked for me. If you know any way I can improve this tutorial, feel free to leave them in the comments!
- PPPPS: If you have any errors from this tutorial. I explained them at the bottom
Setting up our assets
Let's start by giving the character an appearance and some music. Head on over to your assets folder. We will need three things
- A sprite for our character
- Music that it should play
- A poster we can use for the Principals Office
For my character sprite. I will be using this poop character from Cult of the Lamb. I have no idea who he is. But he will have to do!

For the music that it should play. How about... Lemming Demon! Aside from being catchy as hell, it's also soo loud that we could hear it from a mile away!
As for the poster. I will be using a template which you can freely use right here!

Of course. I will do the editing necessities for making sure the poop character is placed in the left. Which hopefully you should know how
I will put them in a new folder inside the assets folder. Just to keep things tidy!


Getting our assets
First of all. Let's get a reference to the AssetManager by doing the following:
public AssetManager assetMan = new AssetManager();I will also create a string for keeping track of the folder my character assets are in
private static string characterSubDirectory = "Character";To keep things clean and tidy. I will create a new function for handling our asset retrieval!

Now let's actually get our assets. Let's start by getting the image of our character as a Texture2D by typing in:
assetMan.Add<Texture2D>("Character Texture", AssetLoader.TextureFromMod(this, characterSubDirectory, "Character Texture.png"));Follow this with the poster as well
assetMan.Add<Texture2D>("Character Poster", AssetLoader.TextureFromMod(this, characterSubDirectory, "Character Poster.png"));
This adds in the Texture2Ds in our assetMan
- The string labelled red is what we want to name our texture in assetMan. If we want to retrieve our Texture2D. We must refer to it with this name
- The SubDirectory string from earlier is used here so that it knows to look in that folder we just created
- The string labelled blue is the name of our file
To give our character a sprite. We must convert our Texture2D into one. So now do the following:
assetMan.Add<Sprite>("Character Sprite", AssetLoader.SpriteFromTexture2D(assetMan.Get<Texture2D>("Character Texture"), 50));This gets the Character Texture2D from our AssetManager and converts it into a Sprite
- The string labelled red should be the same as the name you have given to your character texture
- The float labelled blue defines the PixelPerUnit. I find that this value controls the size of your sprite, a value of 50 is good enough from the amount of testing I have done (For more info. Check out the wiki page for this)
Now let's give the character some music. Copy this code in:
assetMan.Add<SoundObject>("Character Idle Song", ObjectCreators.CreateSoundObject(AssetLoader.AudioClipFromMod(this, characterSubDirectory, "Character Idle Song.mp3"), "*Character\'s Song*", SoundType.Music, Color.white));
This one is pretty involved. But I am here to explain what it all does! We start by creating a new SoundObject. But we need a few parameters, which are all highlighted for us!
- Red: This gets our music of choice and turns it into an AudioClip
- Green: This is the text that displays in the subtitles
- Blue: This is the SoundType of our SoundObject. Since we are making it Idle music. This should be SoundType.Music
- White: This is the color of our subtitle. I will make it simple and color it white!
Last thing to do is call our function in Awake!

That was pretty long. But now we can start by building our Character!
Building our Character
Before we start building our character. Let's first create the script that we will be using for our character. Create a new class with the name of your character and inherit from class "NPC"
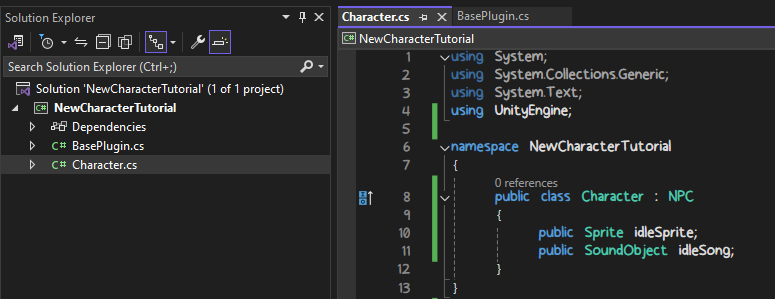
As you can see. I also added in two new references in the class
public Sprite idleSprite;
public SoundObject idleSong;
Make sure to include these as well. You don't need to worry about them now, we will use them later. Now let's get into actually building our Character. Go back to the BasePlugin class and create a new IEnumerator
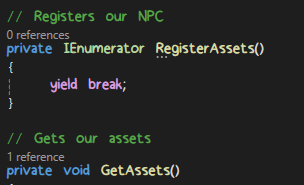
Now we can build our character! Create the following:
Character character = new NPCBuilder<Character>(Info)
  .SetName("Custom Character")
  .SetEnum("Custom Character")
  .SetMinMaxAudioDistance(1, 300)
  .IgnoreBelts()
  .IgnorePlayerOnSpawn()
  .AddSpawnableRoomCategories(new RoomCategory[] {RoomCategory.Hall, RoomCategory.Class, RoomCategory.Office, RoomCategory.Faculty})
  .SetPoster(assetMan.Get<Texture2D>("Character Poster"), "Custom Character", "This character is as simple as you can get. Perfect for a tutorial!")
  .Build();

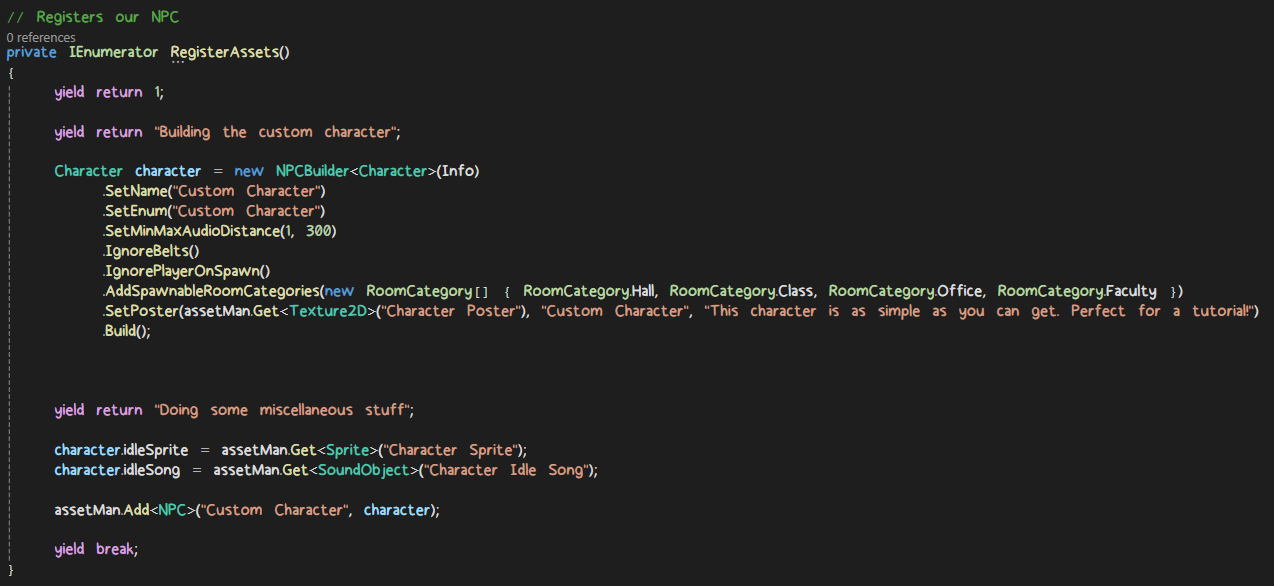
Now. This may look very intimidating. But I am here to explain everything. We use NPCBuilder with our newly created character class as our type. It is then followed by parenthesis with "Info" included in it. We are then greeted by a lot of function calls. This may look weird in terms of formatting, but this is how the process goes. What matters the most is the Build() function at the bottom. Which finalizes everything we have done to our NPC and actually builds it. There should always be one when making a new NPC
For what the other functions do, let me explain them to you!
SetName()- Sets the name for our NPCSetEnum()- I am not sure what Enum means in this scenario. But add it in regardlessSetMinMaxAudioDistance()- Sets the minimum and maximum distance the audio can reach us. One tile is 10 unitsIgnoreBelts()- Makes our NPC ignore conveyor beltsIgnorePlayerOnSpawn()- Makes the NPC spawn instantly, regardless of distance from playerAddSpawnableRoomCategories()- Places where the NPC can spawn in. It uses an array of RoomCategory enumerators. What I currently have in the photo is good enoughSetPoster()- Sets the poster to be displayed in the Principal's Office. We get the Texture2D we saved earlier, the name of our character, and what flavor text to be displayed on the rightBuild()- Build's our NPC
There are more functions you can use to customize your NPC further. Which you can find in the source code
The other yield returns at the top of the NPCBuilder are optional. But they give the loading screen some information!
Now that that's over. Let's assign those references in our character script from our BasePlugin
character.idleSprite = assetMan.Get<Sprite>("Character Sprite");
character.idleSong = assetMan.Get<SoundObject>("Character Idle Song");
We will be using these later. Now let's add the NPC to our assetMan
assetMan.Add<NPC>("Custom Character", character);If you haven't yet. End it all with a yield break; and we are finally done with our IEnumerator. This is what it looks like at the end!
Now we make it register assets on load! Type this in the bottom of the Awake() function
LoadingEvents.RegisterOnAssetsLoaded(Info, RegisterAssets(), false);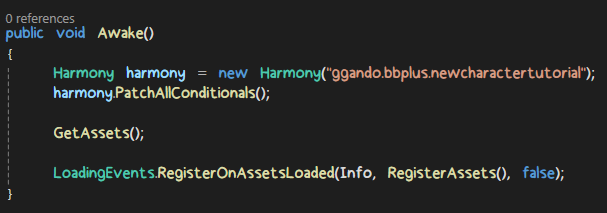
When all assets have finished loading. It will then run the IEnumerator and do its shenanigans!
Making the mechanics of our character
Now it's time we do the heavy work on our character. Head on over to the Character script. Add in a new override function called "Initialize". This is what the NPC will do when it spawns
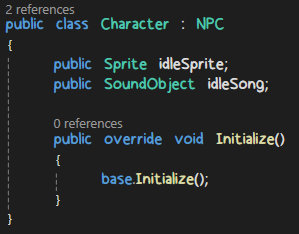
Let's start by giving it a Sprite. Copy the following code
spriteRenderer[0].sprite = idleSprite;Don't ask me why there is an array of Sprite Renderers. I have no idea either. Now let's add in the audio. This will involve a little more work, but it's still relatively easy!
AudioManager audioManager = GetComponent<AudioManager>();
PropagatedAudioManager idlePlayer = base.gameObject.AddComponent<PropagatedAudioManager>();
idlePlayer.audioDevice = base.gameObject.AddComponent<AudioSource>();
idlePlayer.ReflectionSetVariable("soundOnStart", new SoundObject[] { idleSong });
idlePlayer.ReflectionSetVariable("loopOnStart", true);
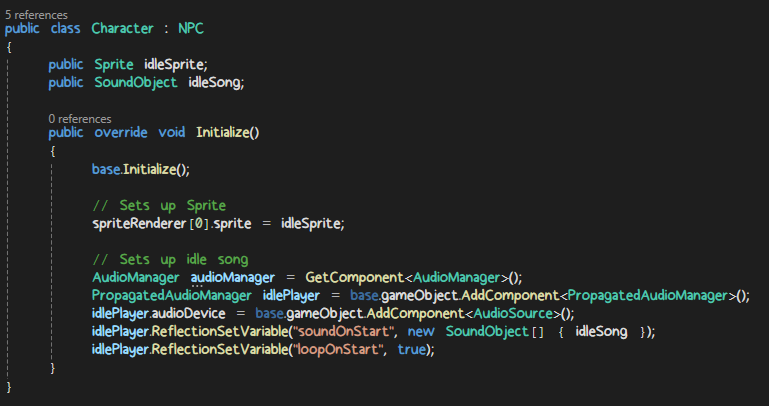
I won't go in too much detail on what the music code does (I don't really know much either). But just note that your character now plays their idle song!
Now we want our character to wander. Which is where things start getting a bit tricky... Start by creating a new class called "Character_StateBase" and copy from below
public class Character_StateBase : NpcState
{
    protected Character character;

    public Character_StateBase(Character chara) : base(chara)
    {
        character = chara;
    }
}
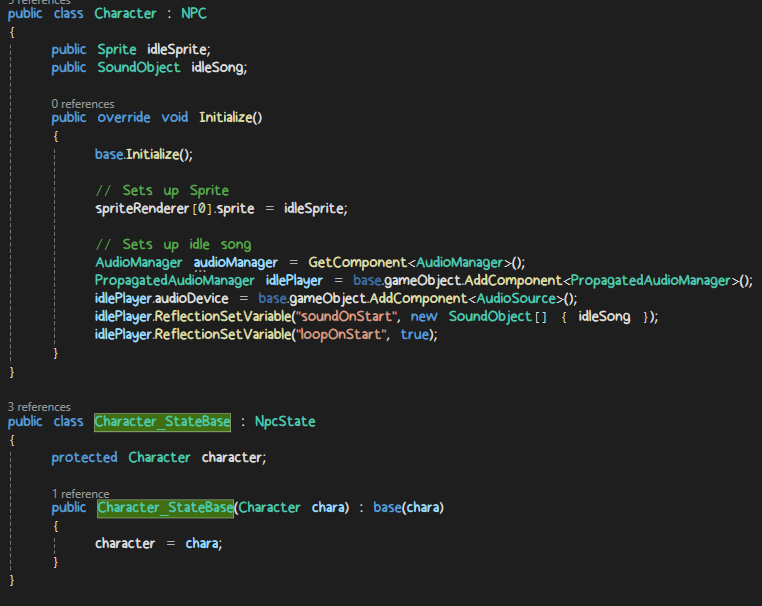
Next. Create another class called "Character_Wander" and copy from below
public class Character_Wander : Character_StateBase
{
    public Character_Wander(Character chara) : base(chara)
    {

    }

    public override void Enter()
    {
        base.Enter();
        if (!npc.Navigator.HasDestination)
        {
            ChangeNavigationState(new NavigationState_WanderRandom(npc, 0));
        }
    }

    public override void DestinationEmpty()
    {
        base.DestinationEmpty();
        ChangeNavigationState(new NavigationState_WanderRandom(npc, 0));
    }
}
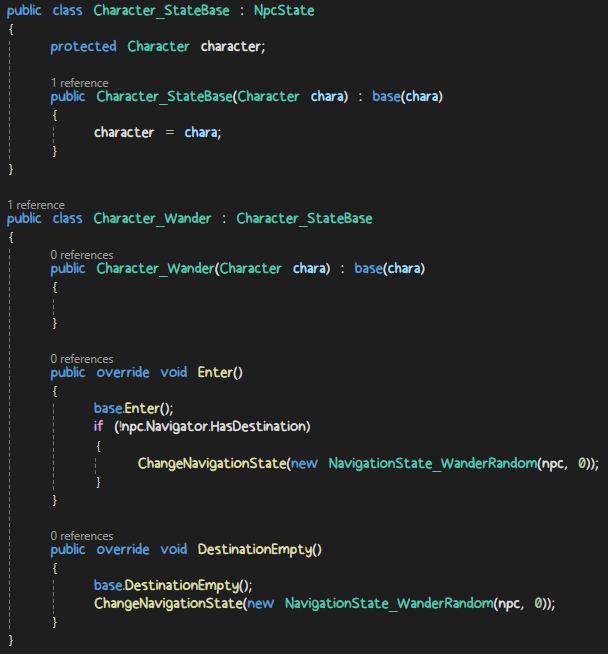
Let's explain what we just did. StateBase is sort of like a framework for our future states. Such as when our character is hunting the player, or when in this case, it's wandering. Speaking of which, we create another class which inherits from StateBase for dealing with wandering. Which in itself, isn't that complicated!
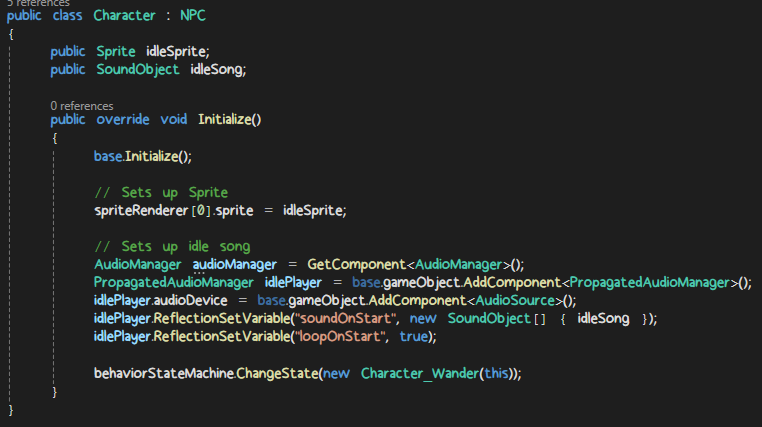
Now we just make our character wander around when initialized. Which is very simple!
behaviorStateMachine.ChangeState(new Character_Wander(this));
Making our NPC spawn
Now let's actually make our NPC spawn in the game! Head back to the BasePlugin script and create a new function. I will call it "AddObjects"
private void AddObjects(string floor, int floorNumber, CustomLevelObject floorObject)
{

}
Take note that we will be using these parameters in our function. Speaking of which, add in the following:
if (floor.StartsWith("F"))
{
    floorObject.potentialNPCs.Add(new WeightedNPC()
    {
        selection = assetMan.Get<NPC>("Custom Character"),
        weight = floorNumber < 2 ? 200 * floorNumber : 10000
    }
    );
}
else if (floor == "END")
{
    floorObject.potentialNPCs.Add(new WeightedNPC()
    {
        selection = assetMan.Get<NPC>("Custom Character"),
        weight = 10000
    }
    );
}

floorObject.MarkAsNeverUnload();
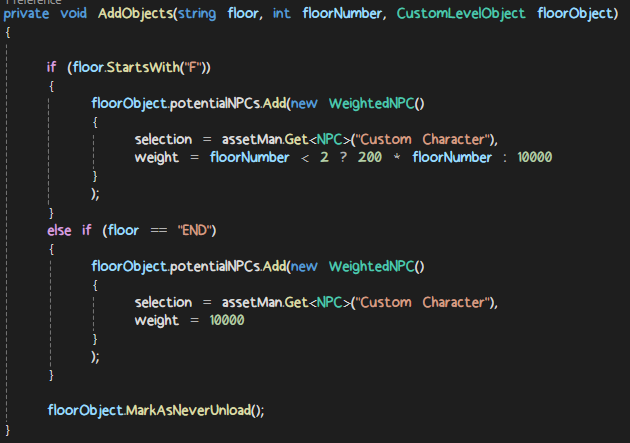
Let's break down what this does. We start by checking if the floor string starts with the letter F (Floors go like "F1", "F2", "F3"). If it is, we are in normal mode! We then add in our NPC in the potential NPCs that the floor could spawn. Selection is our NPC from the assetMan. And Weight is the likelyhood of our NPC spawning in that floor.

Now what I am doing with the weight looks really confusing. But let me explain!
- If our current floor number is lower than 2 (floorNumber starts at 0 for Floor 1. Which means if we are currently at Floor 1 and 2). We start with standard spawning. A higher weight means that the NPC is more likely to spawn
- If it is at 2 or higher, then the weight is set to a value soo high it's pretty much guaranteed to show up.
If we are not playing normal mode. Which usually means we are playing in Endless. Then we just guarantee that our character spawns!
Now we make this run during map generation. Add in this line at the bottom of Awake()
GeneratorManagement.Register(this, GenerationModType.Addend, AddObjects);
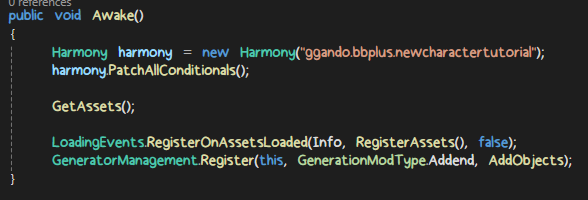
This makes it so that our function of choice runs when the map is generating!
Playtesting
And believe it or not! We are pretty much done with our character! Let's just make sure it works ingame! Build the project and put it in the plugins folder (If you don't know how to do that. Refer to the BB+ Mod setup from the start) and start Baldi's Basics Plus! If you got pass the mod loading screen without errors. Then you got past Phase 1 of our playtesting!
Load up Hide-and-Seek (Exploration works as well!) and find the Principal's Office. If you can find your custom made poster in the Office. Then that is Phase 2 out of the way! (If you can't find it. There is a chance that your character did not spawn in. Play until floor 3 or set the weight to 10000 so it's guaranteed to spawn)
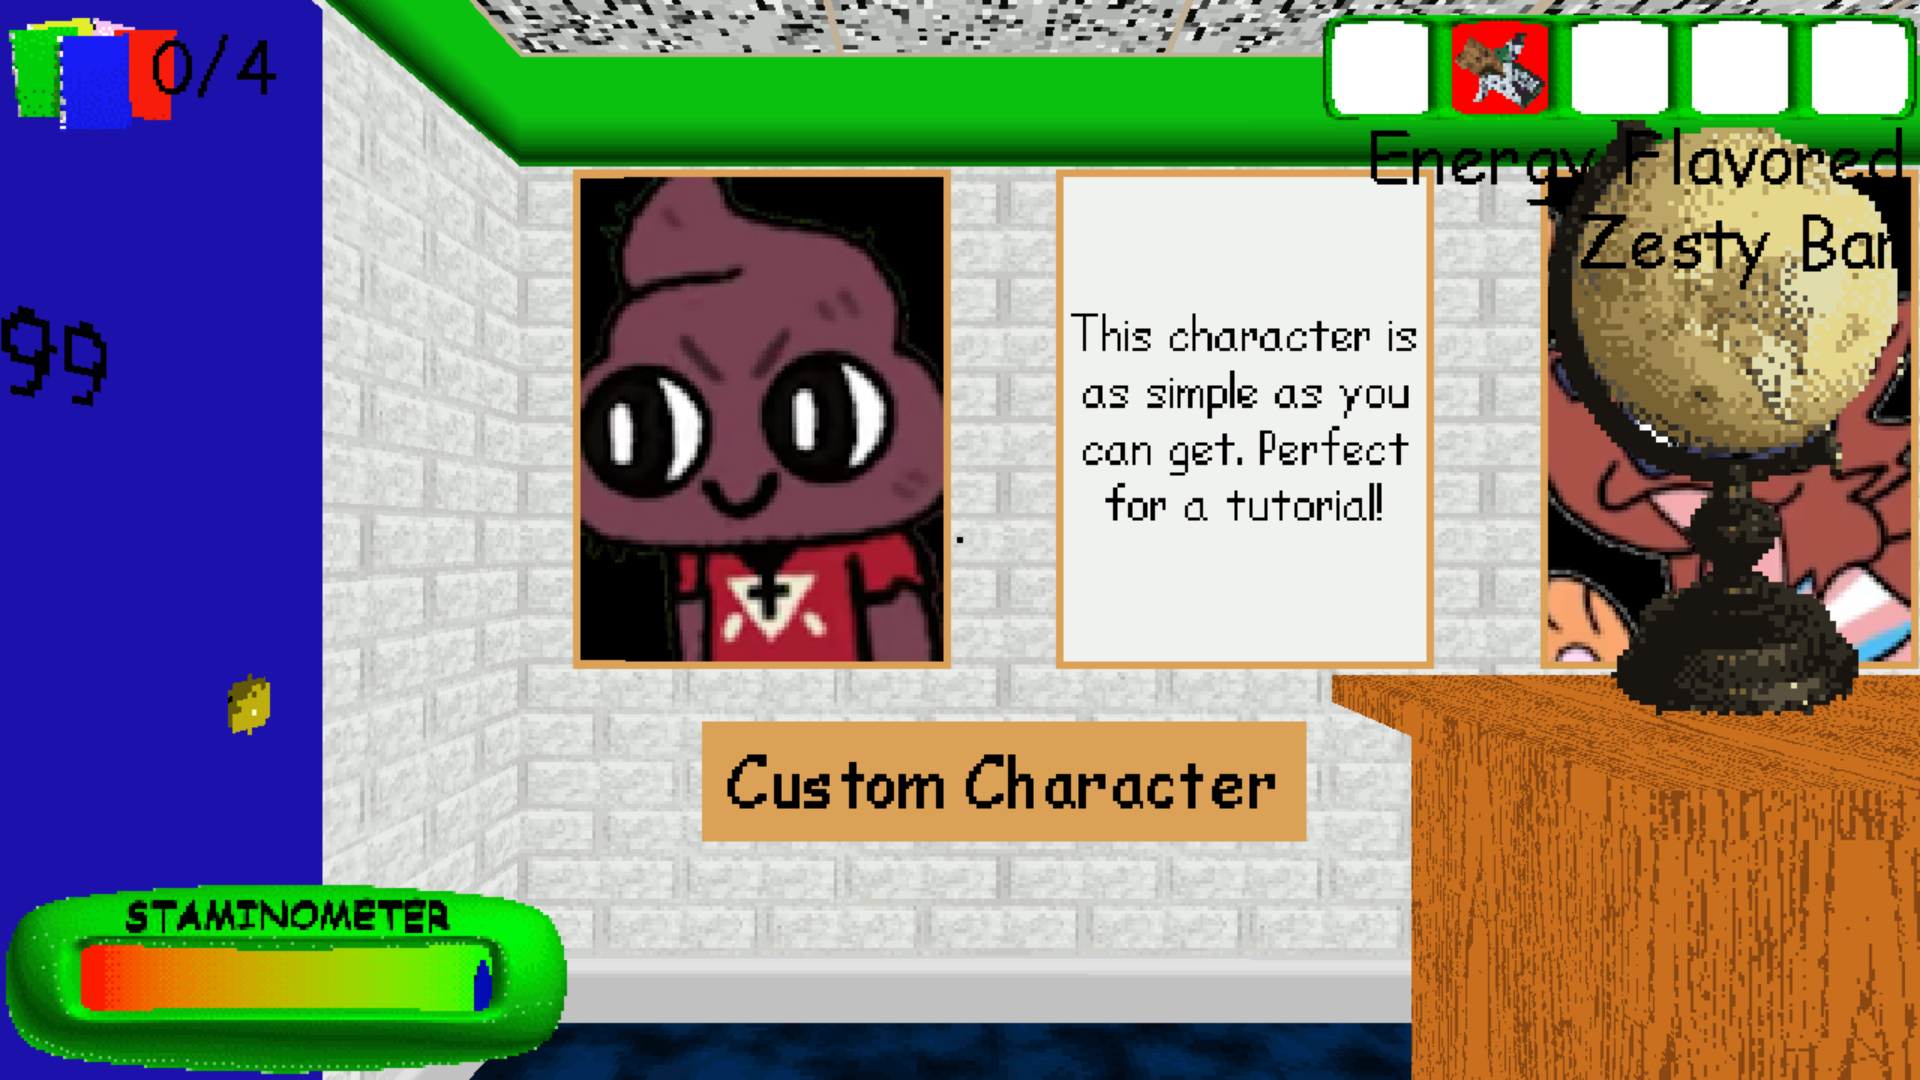
Now we just find our character. Make sure to turn on Subtitles so you can hear their music! If you can find them, congratulations! You just created your first custom character!
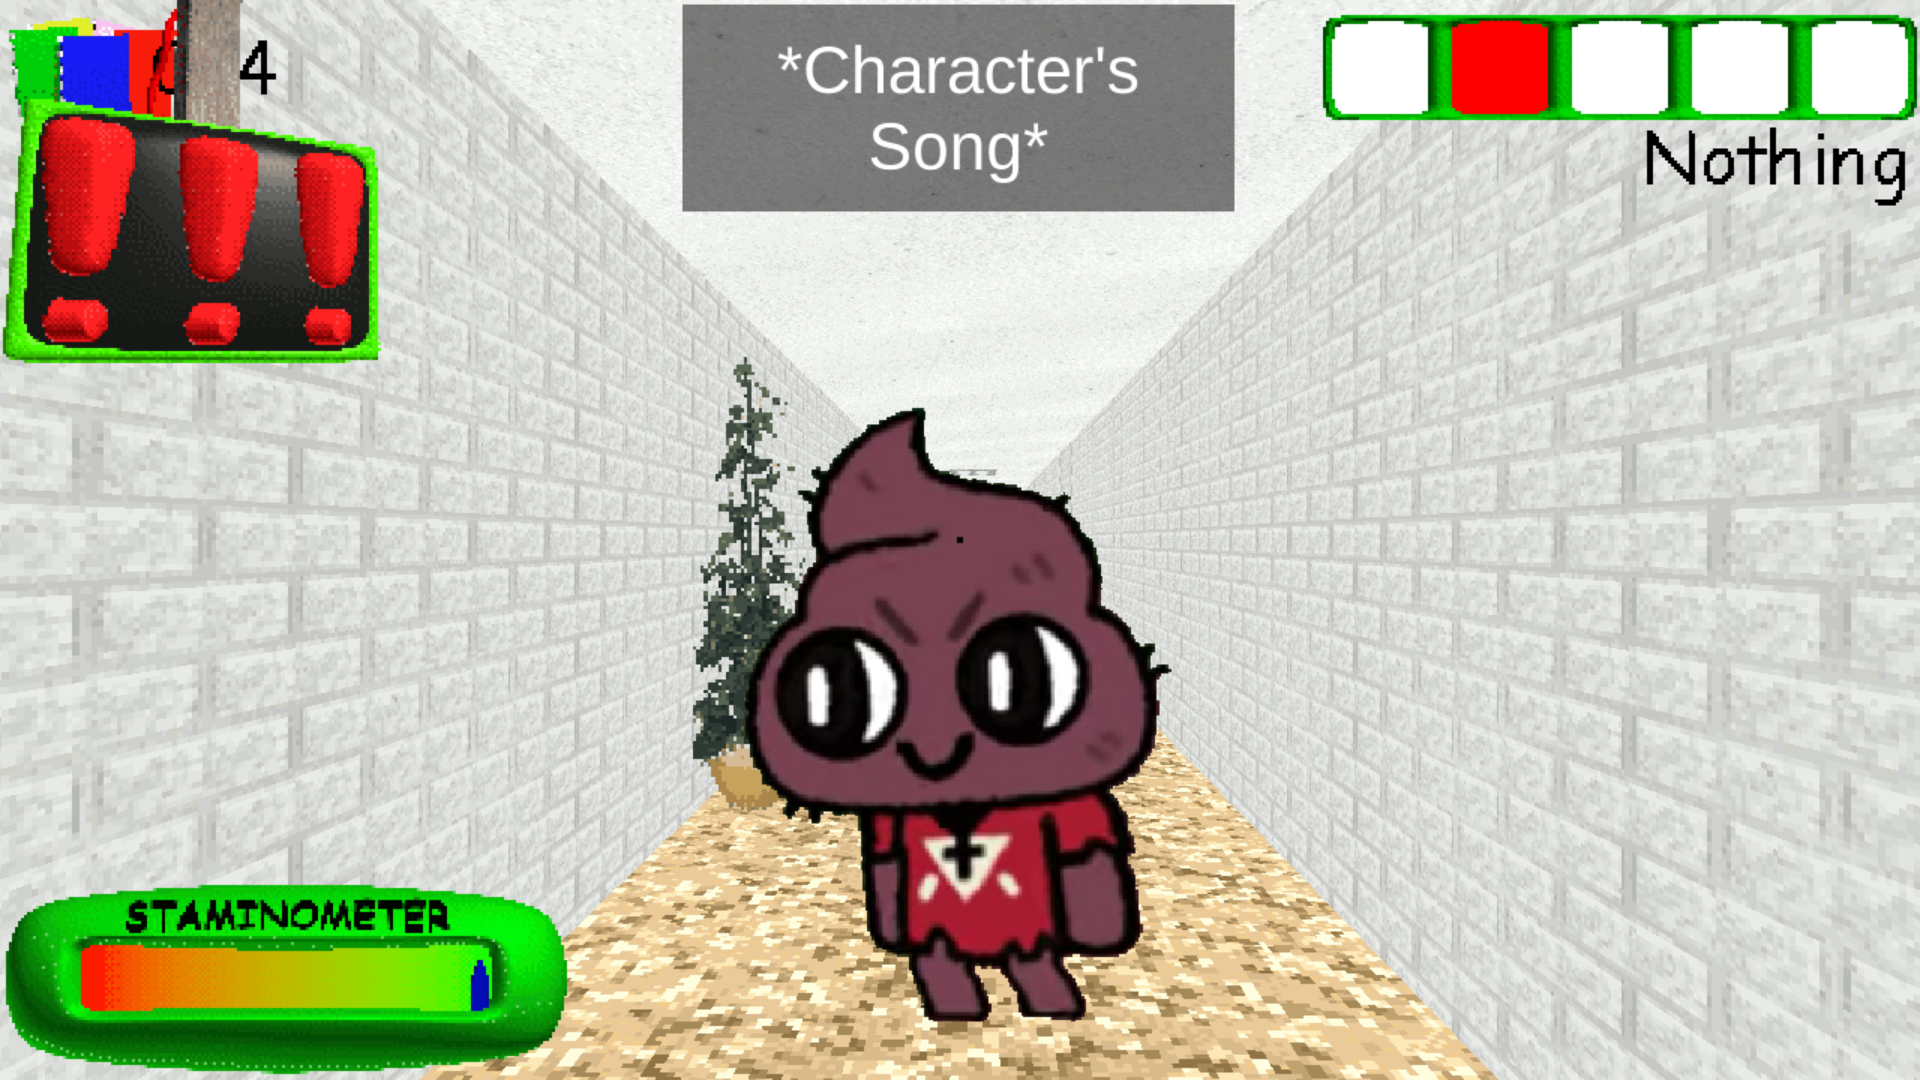
THE END
This marks the end of the tutorial! What you do next to your custom character is up to you! Of course. You might get a bit confused as to how you could implement your dream character. But that is where open source comes in! There are many different mods that are open source and available for anyone to view! One example would be The Carnival Pack! You can take a few pages from how they make their characters. Learn why they do it, and copy from there
Even if you can't find any other open source mods. You could download DNSpy and use it to scan any BB+ mod you could download on Gamebanana. Although it usually tends to be a bit obstructed
Bug Fixes
The character won't show up!
- If the poster does not spawn in the Principal's office. There may be a chance that the character simply didn't show up. Set the weight to 10000 when spawning so it's guaranteed
- Recheck your selection. Make sure you are getting "NPC" with the same name of the NPC character that you saved in assetMan
- Make sure that floor starts with "F". So that it could spawn during normal gameplay (AKA F1, F2, F3)
- Make sure that you actually included in the
GeneratorManagement.Register(this, GenerationModType.Addend, AddObjects);at the bottom ofAwake() - Make sure that the character has access to it's sprite and idle song. You might have forgotten to reference the values from earlier